Chirag's Blog
JStack + Appwrite: A Match Made in Heaven for Modern Web Development
July 6, 2025
If I had a penny for each time a youtuber has launched his own tech stack, I would have 2 pennies, which isn't much but its weird that it happened twice.
I am talking about T3 Stack launched a while back by everyone's favourite Theo, but recently a new player has entered the market called JStack, by Josh who is the lead Devrel at Upstash. To be fair, its not even that recent, but as always I am late to the party I try to give a framework time to mature and gather feedback from community before giving it a shot.
So, did I prefer JStack over T3 stack? Did it have more compatibility with Appwrite, my favourite backend provider? Can it be hosted on Appwrite Sites? Let's find out.
Getting Started
Let's start with initialising the project:
Options selected:
Let's just quickly run a dev server to see what we get out of the box:
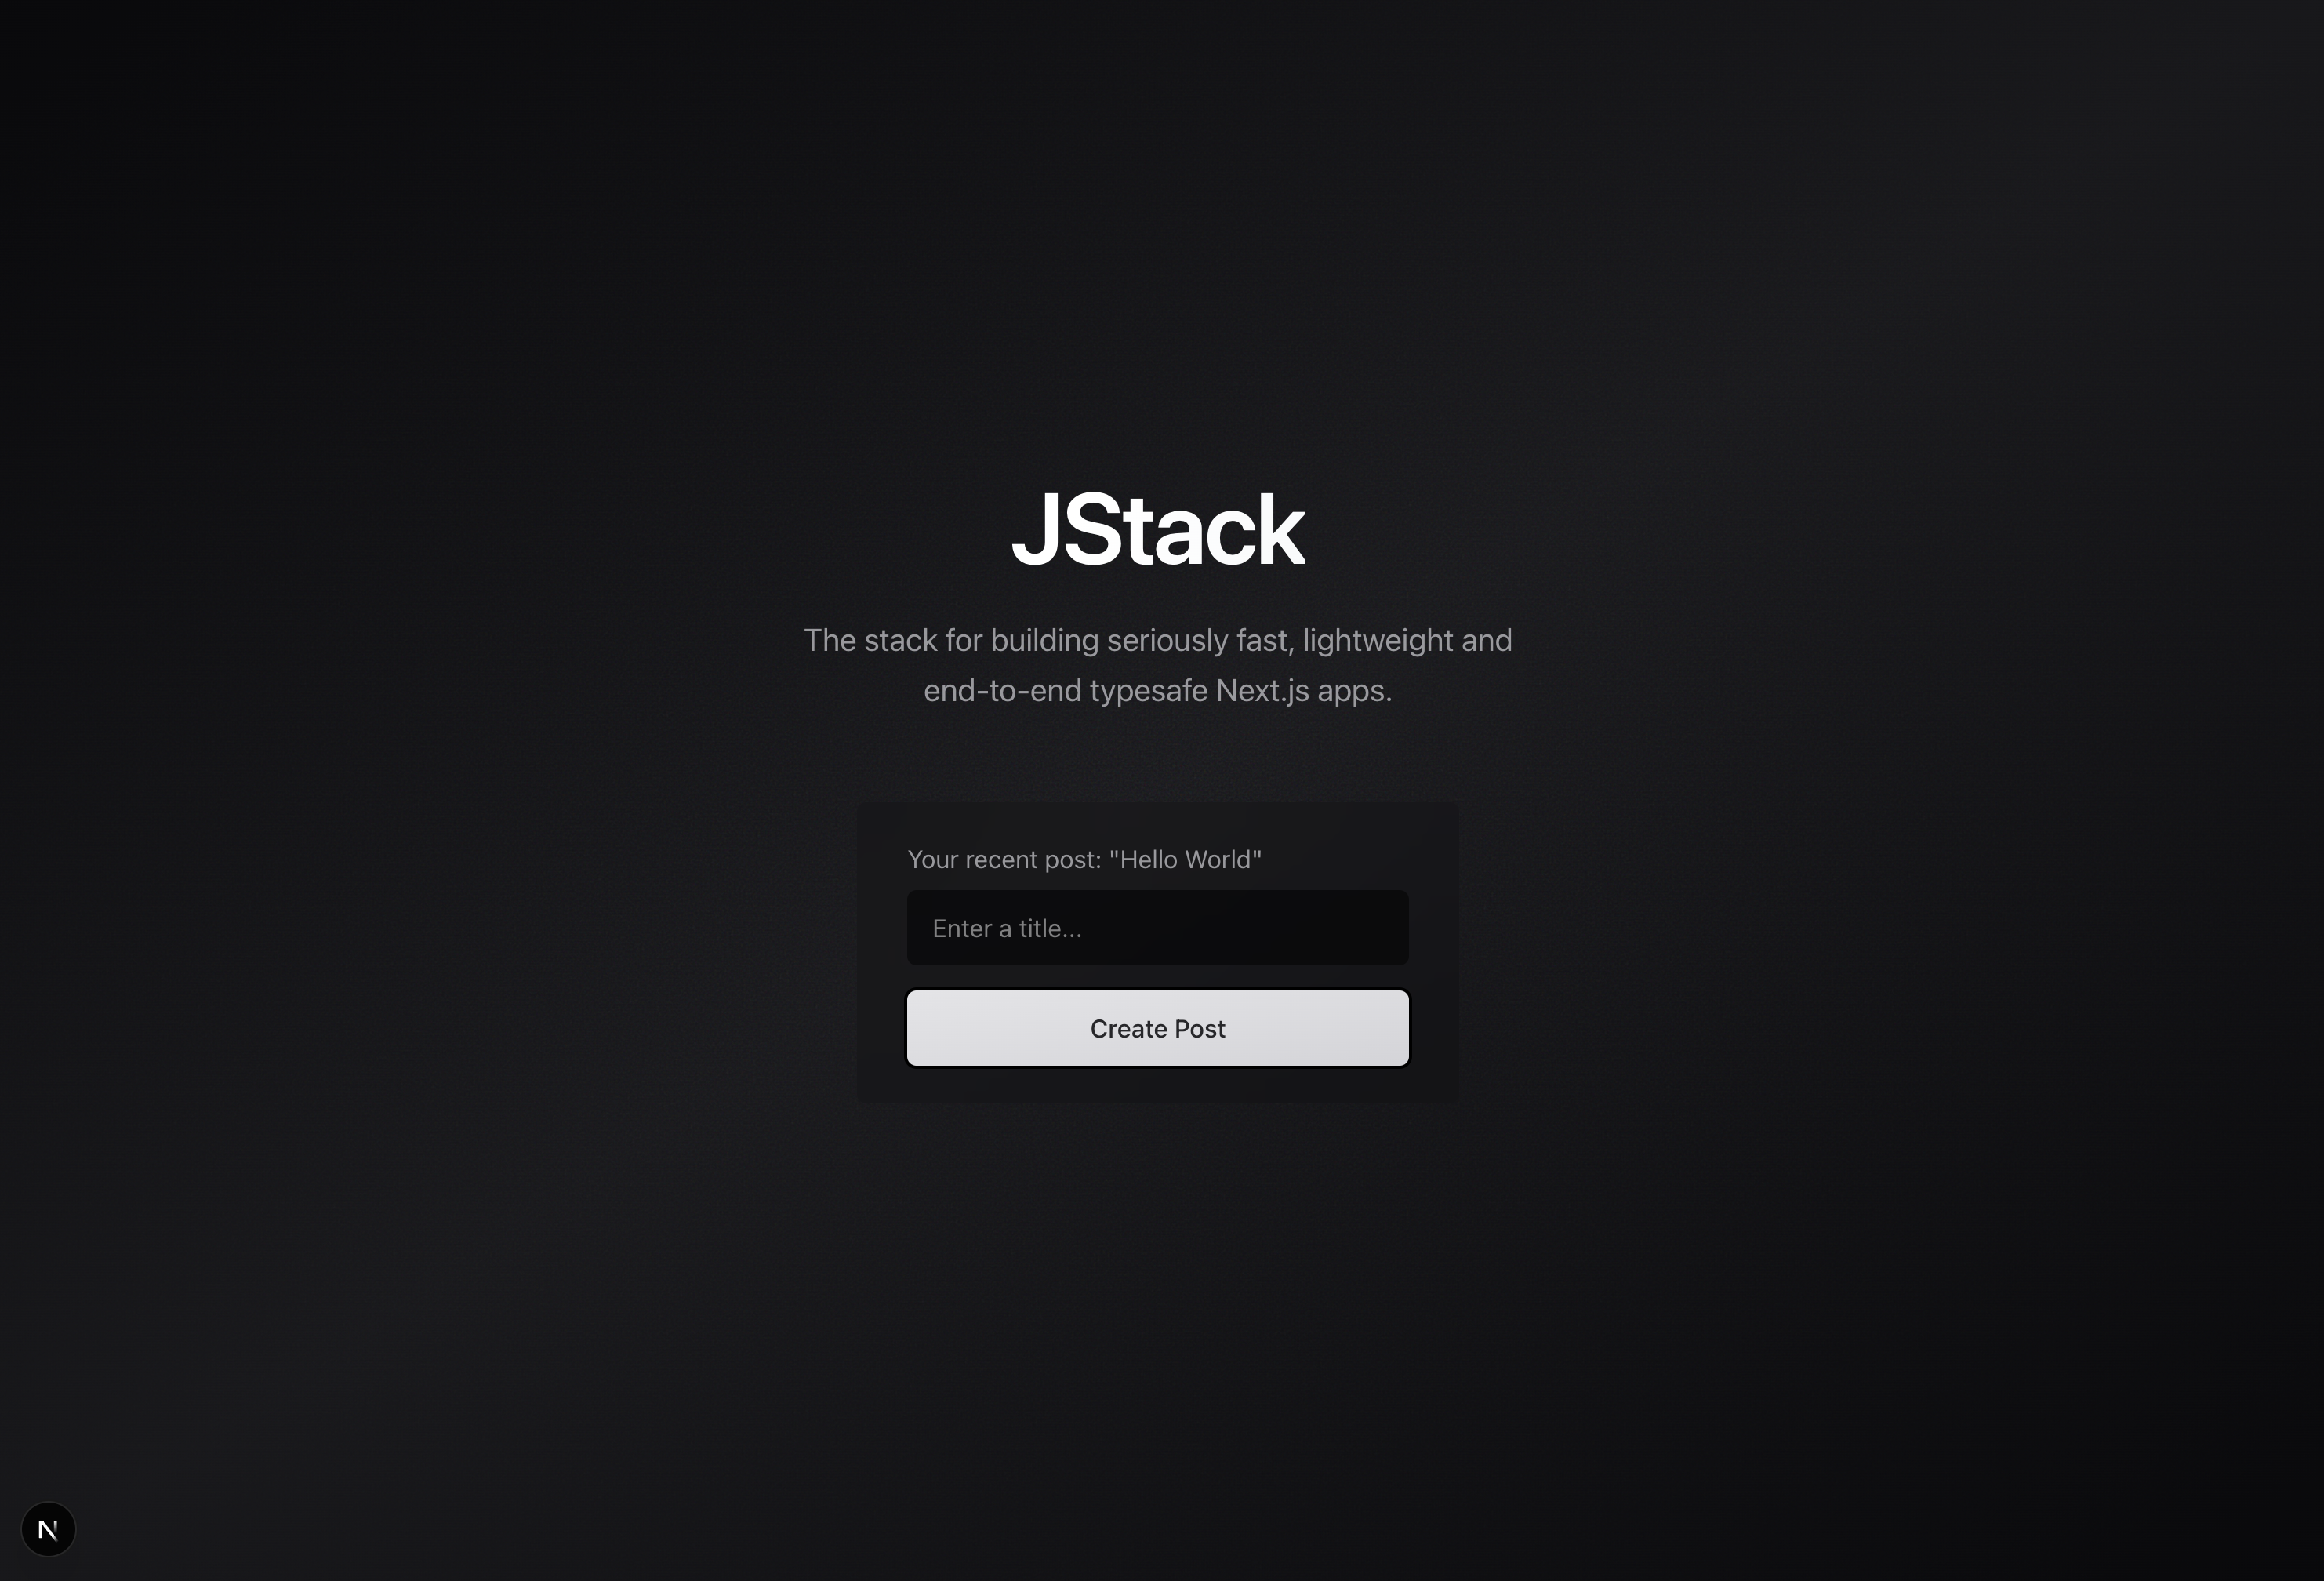
Initialising Project
On skipping the ORM option, the stack still sets up a /src/server folder with an example posts router. But it only mocks the DB using an array which does not persist:
We skipped the ORM option because Appwrite provides built-in schema management through its SDK, eliminating the need for a separate ORM layer. To get started, let's head over to https://cloud.appwrite.io to set up our project.
If you are using Appwrite for the first time, I highly recommend you check out our Start with Web docs.
Here is a quick setup guide:
- Create a new project -

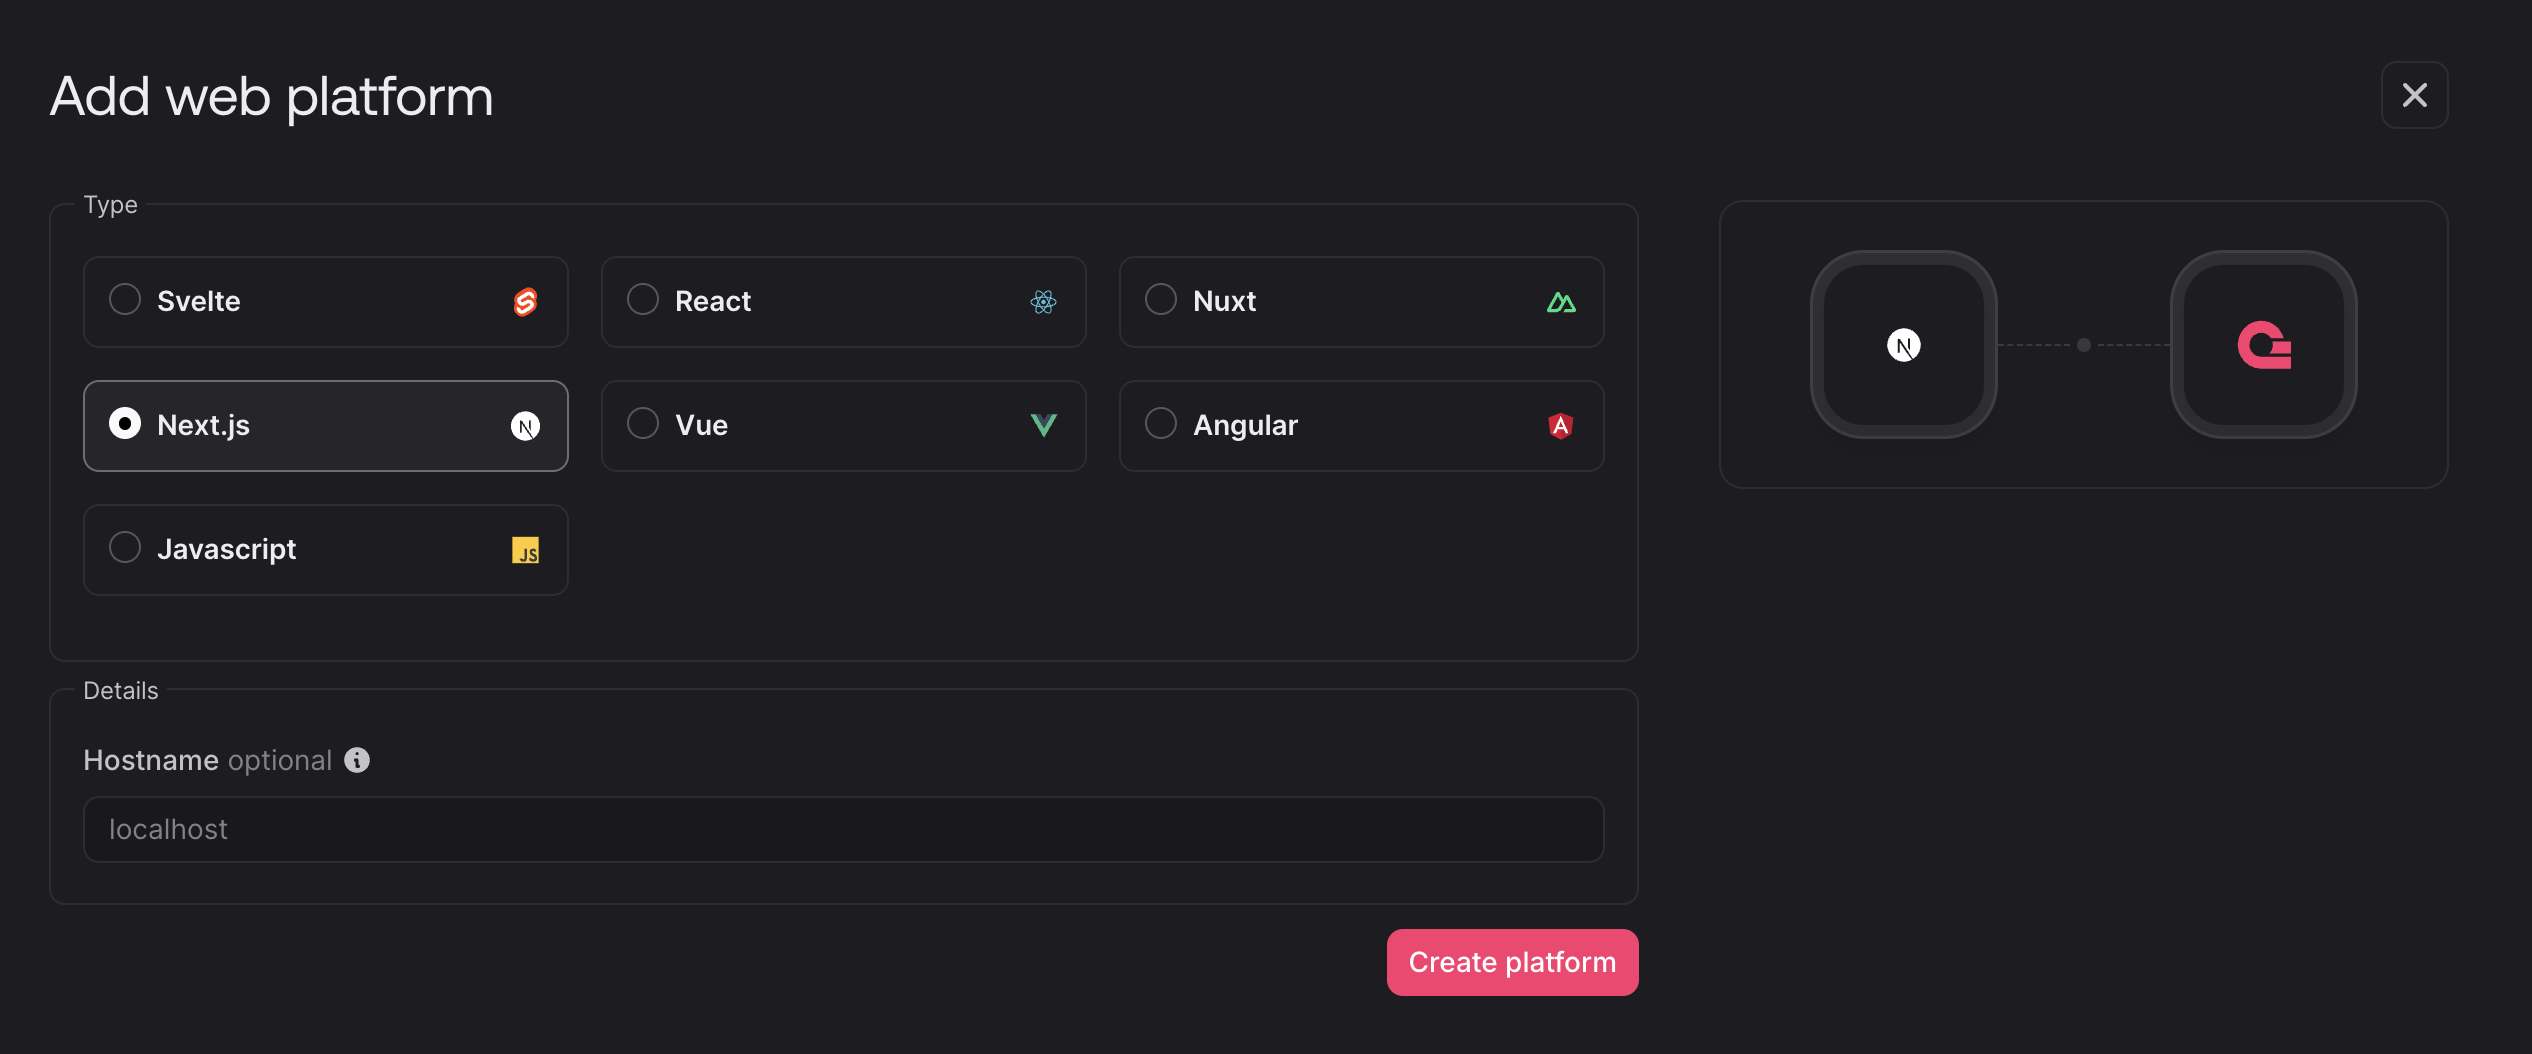
- Add a new web platform and select Next.js -
- Go to project overview and grab your project's ID and region-specific endpoint:

- Create a new
.envfile in your project directory and paste in those values:
- Now, let's initialise the Appwrite SDK in the project using:
This covers up on how to initialize Appwrite in normal Next.js project. Now we need to configure our Appwrite databases according to the project. For this demo, let's create a Posts collection to shift the mock database JStack uses as an example to Appwrite.
Defining Schema
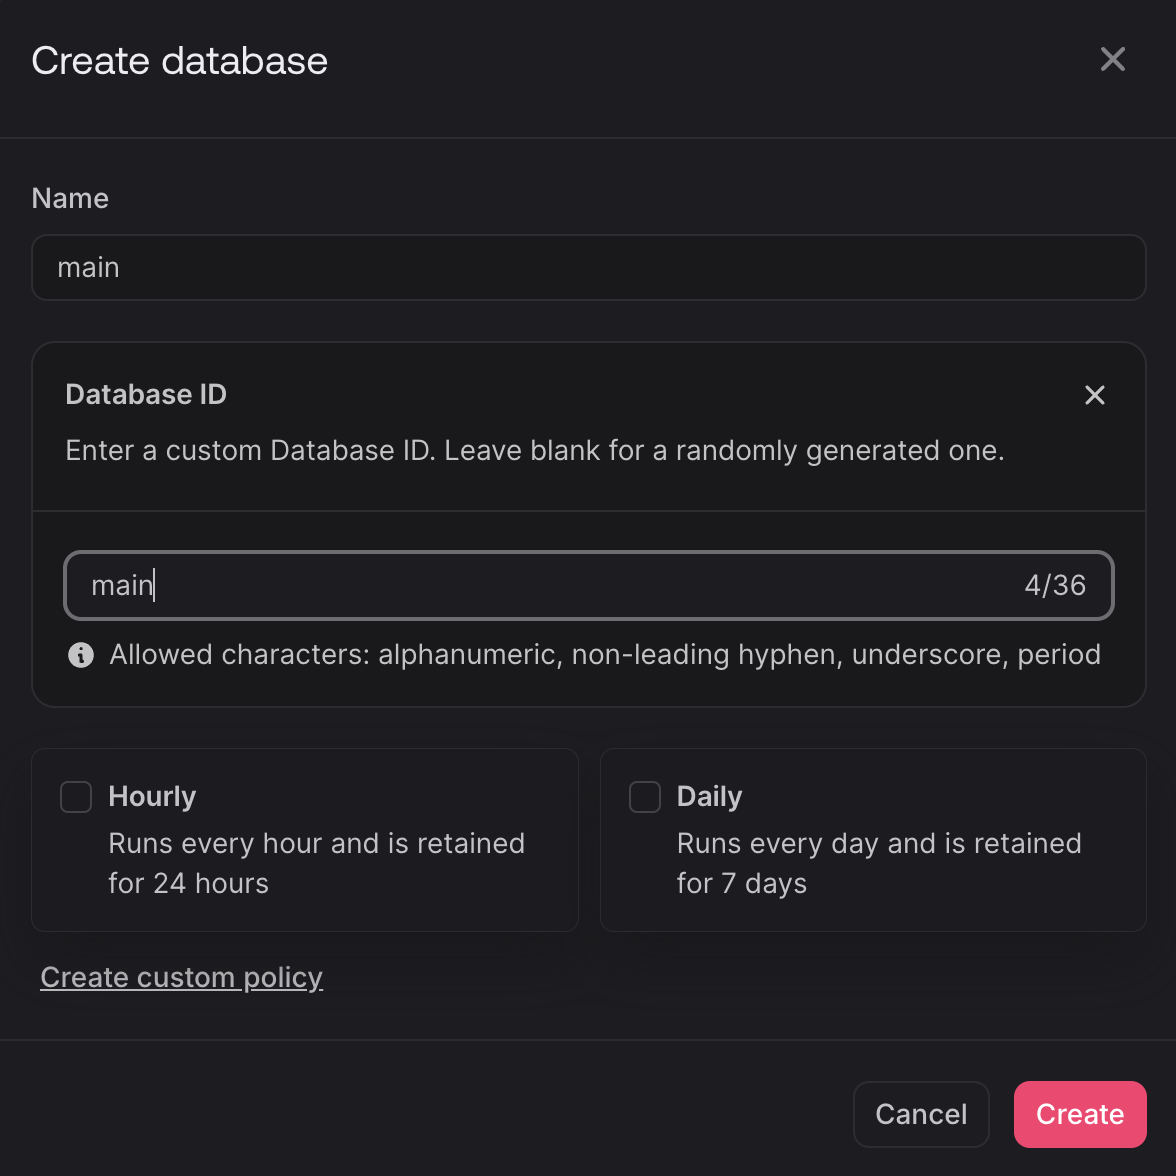
- Go to the Appwrite Console > Databases > Create Database. We will call it
main, and keep it' ID as main as well:
- Similarly, create a collection
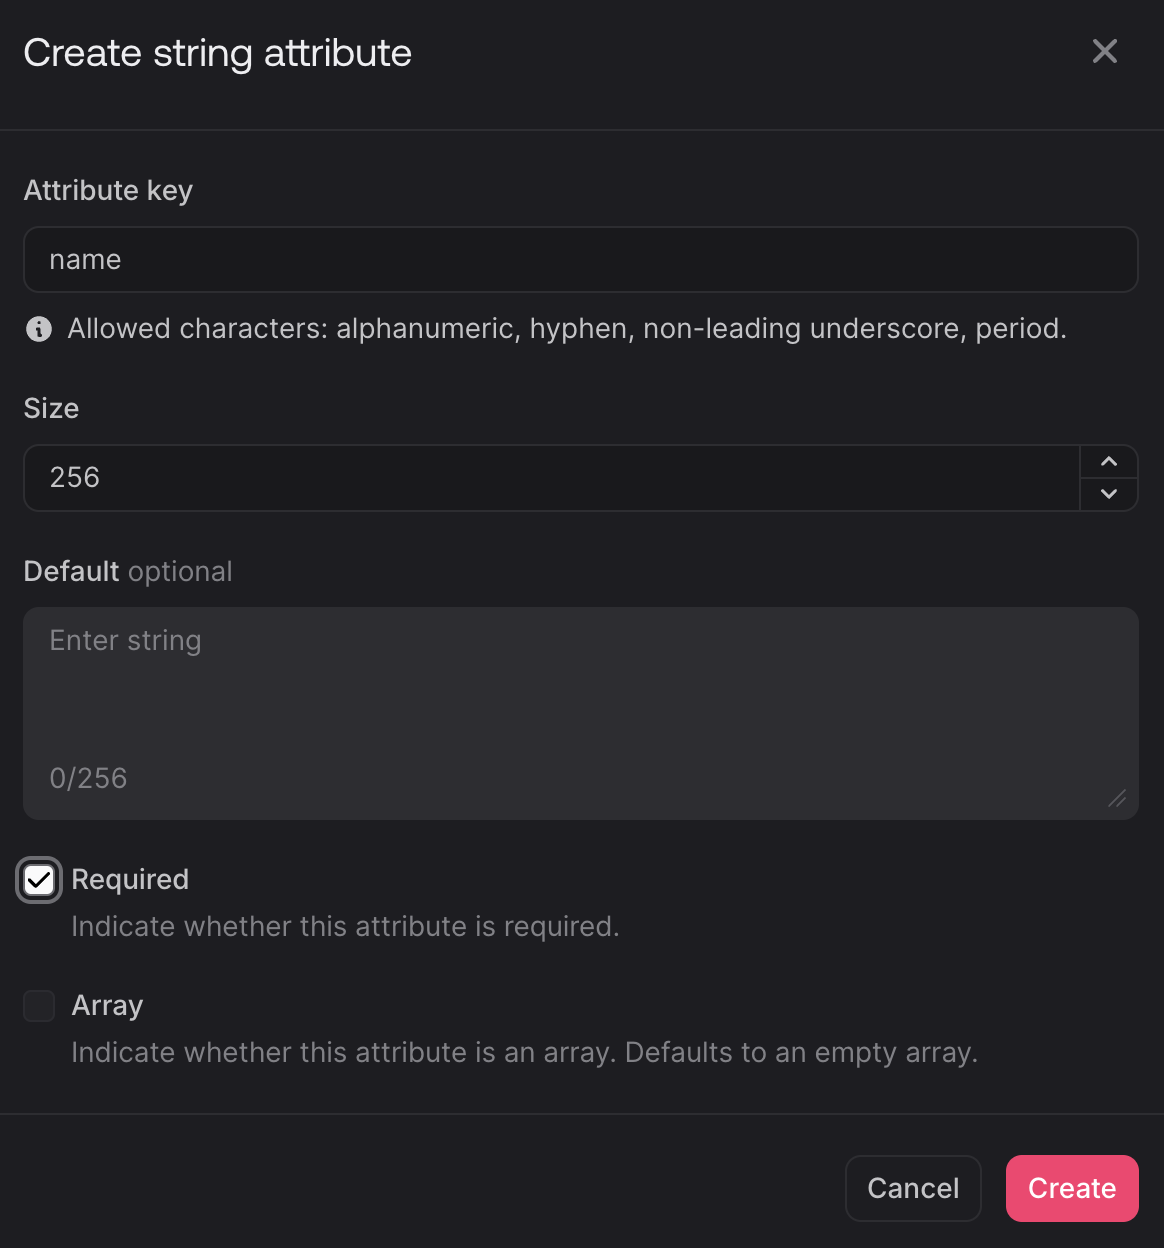
postsand keep its ID asposts. - Each document in Appwrite already has an unique ID attached to it, so the only attribute we need is
namefor now:
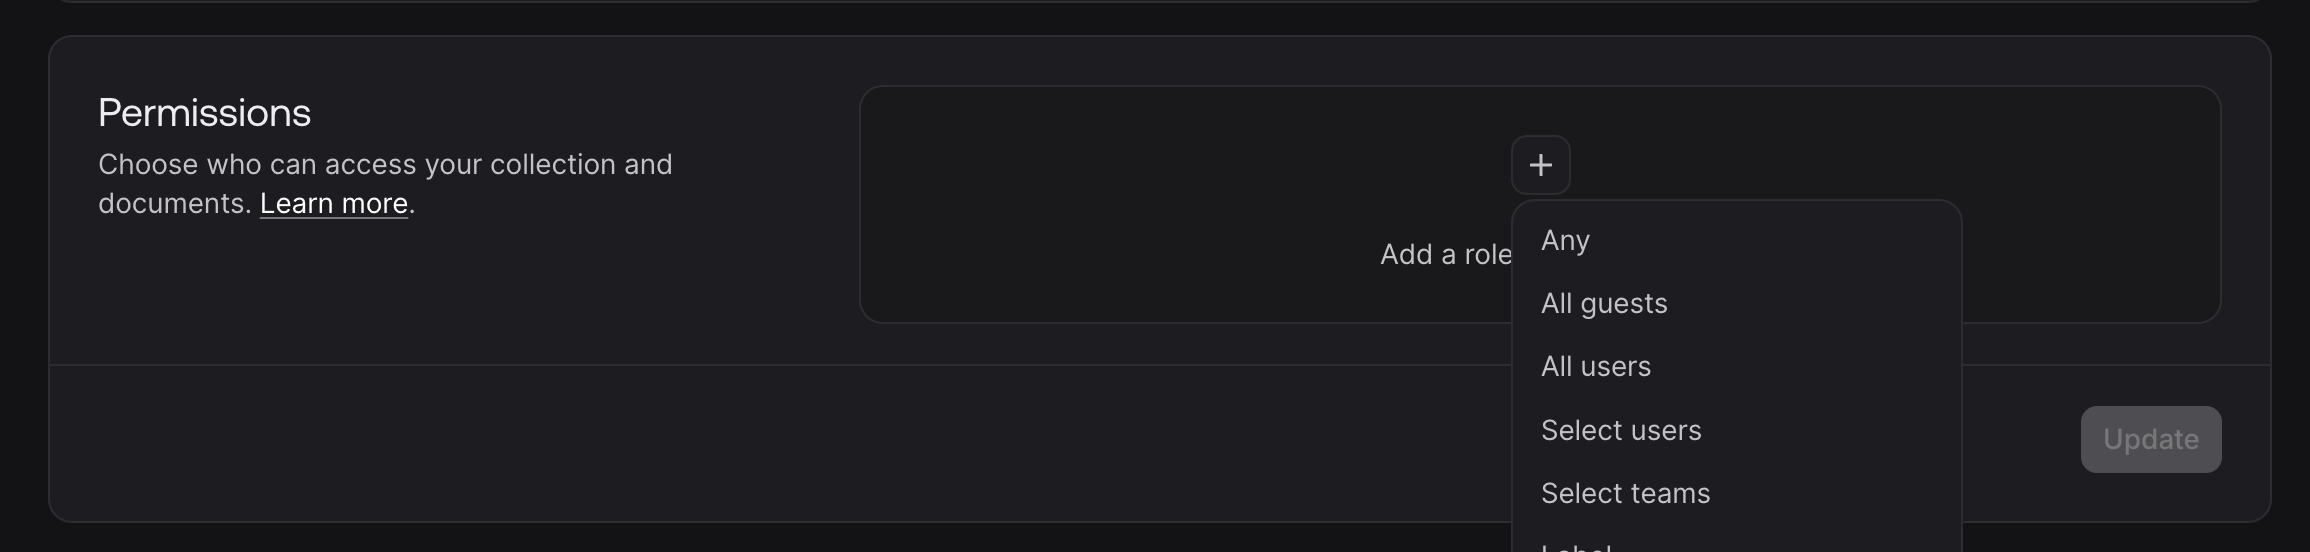
- Lastly, you will need to define who can access your collection. To learn more about it, check out the docs for Appwrite Permissions. For now, we will set it to any:
Syncing Types
That's it, we are all set with configuration on the Appwrite Console. Now let's set it up in our project. I will also take the help of the Appwrite CLI to help me set up things faster. You can learn more about how to install it by following the installation docs.
Once done, run:
Once done, let's utilize the last Types Generation feature to sync our defined types:
Result will look something like this:
Obviously pretty small for now, but a really helpful feature once the project expands and more collections are defined.
Configuring Code
Final steps are to connect the Appwrite backend with our tech stack. For that let's create a simple appwrite.ts file in src/lib folder:
Now, we can modify the original post-router.ts file to use the defined database:
And done! Now your JStack application is using Appwrite as its backend provider.
Testing
- Start the dev server if not already by running:
- Your application should have started on: http://localhost:3000/
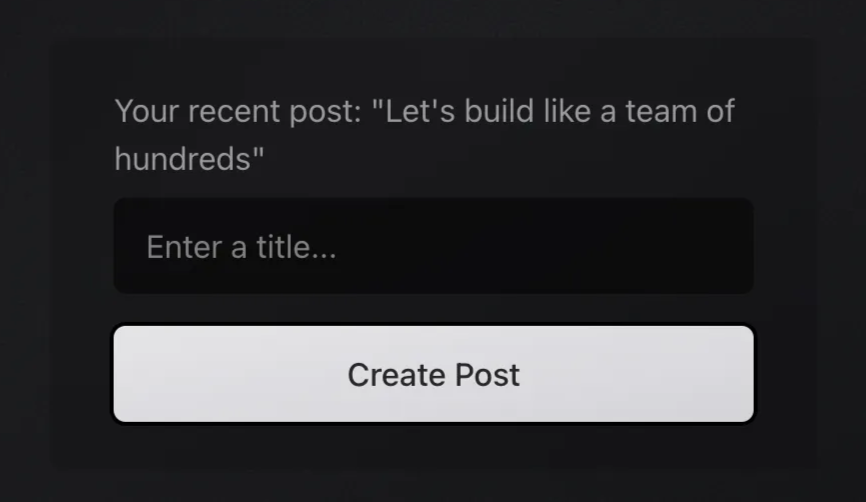
- Create a new post.
- You should be able to see it in recent posts:
- Also, the data should be visible in your Appwrite Console:

Deploying your application
Until recently, to deploy your Next.js application, you had pretty low choices. But no more Appwrite Sites. Now, you can have your backend and frontend hosted on Appwrite.
Check out these docs on how to get started with Sites - https://appwrite.io/docs/advanced/self-hosting/sites
Let's deploy your application using Sites:
- Go to Appwrite Console > Sites > Create Site.
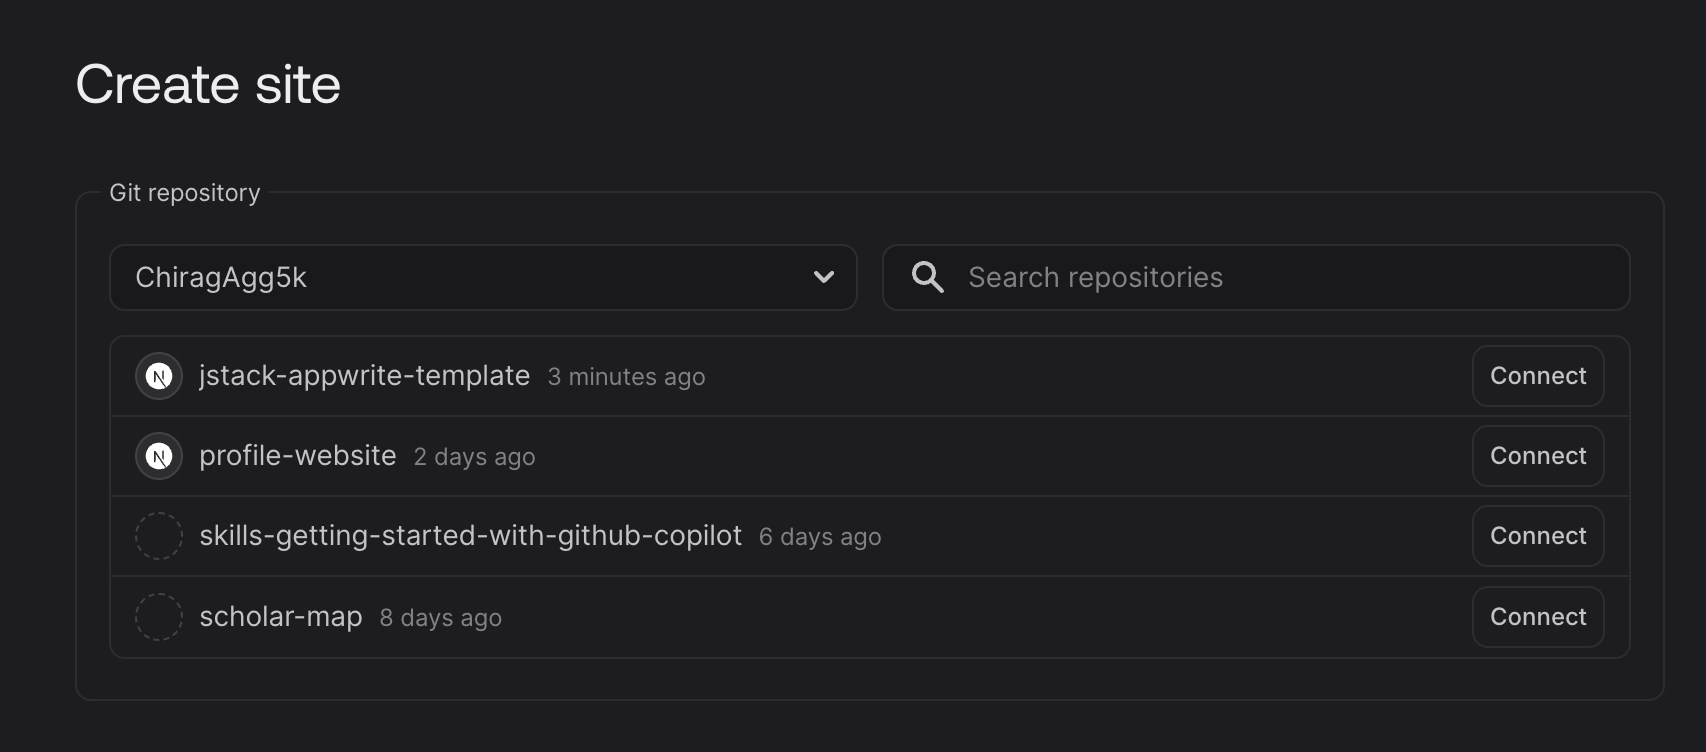
- You can upload a tar file directly, or connect to a GitHub repository (I prefer the GitHub option for automatic deployments).
- Select the repository:
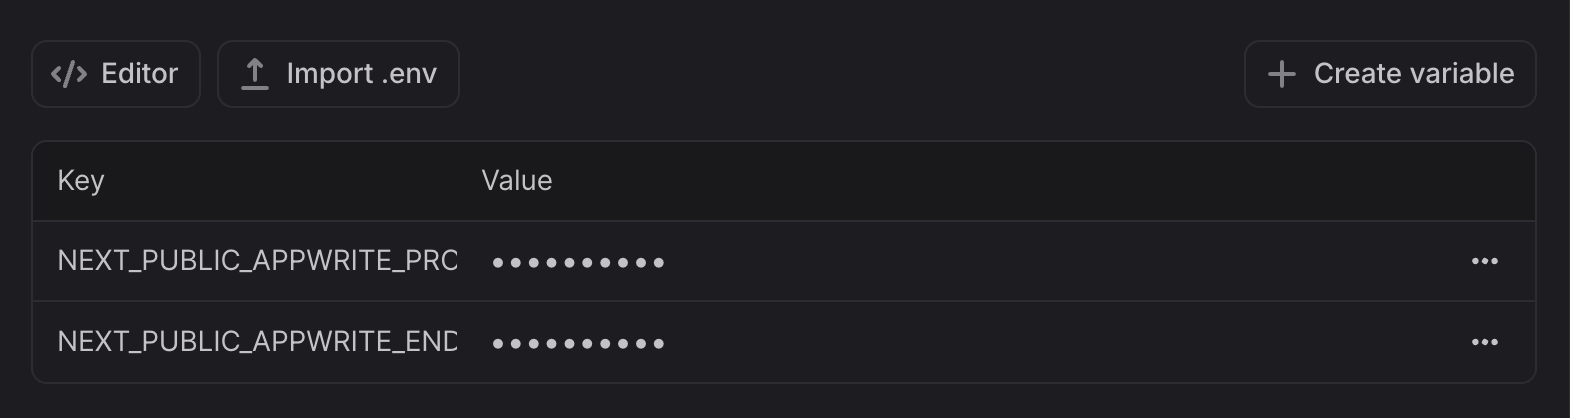
- You can keep all the settings as the default ones, just make sure to upload the environment variables we defined earlier:
- Depending on the domain you are assigned / plan to use, you also need to update the
APP_DOMAINvariable we defined earlier. For me I will keep it:
- Click on deploy.
And done! Your application should be live 🎉
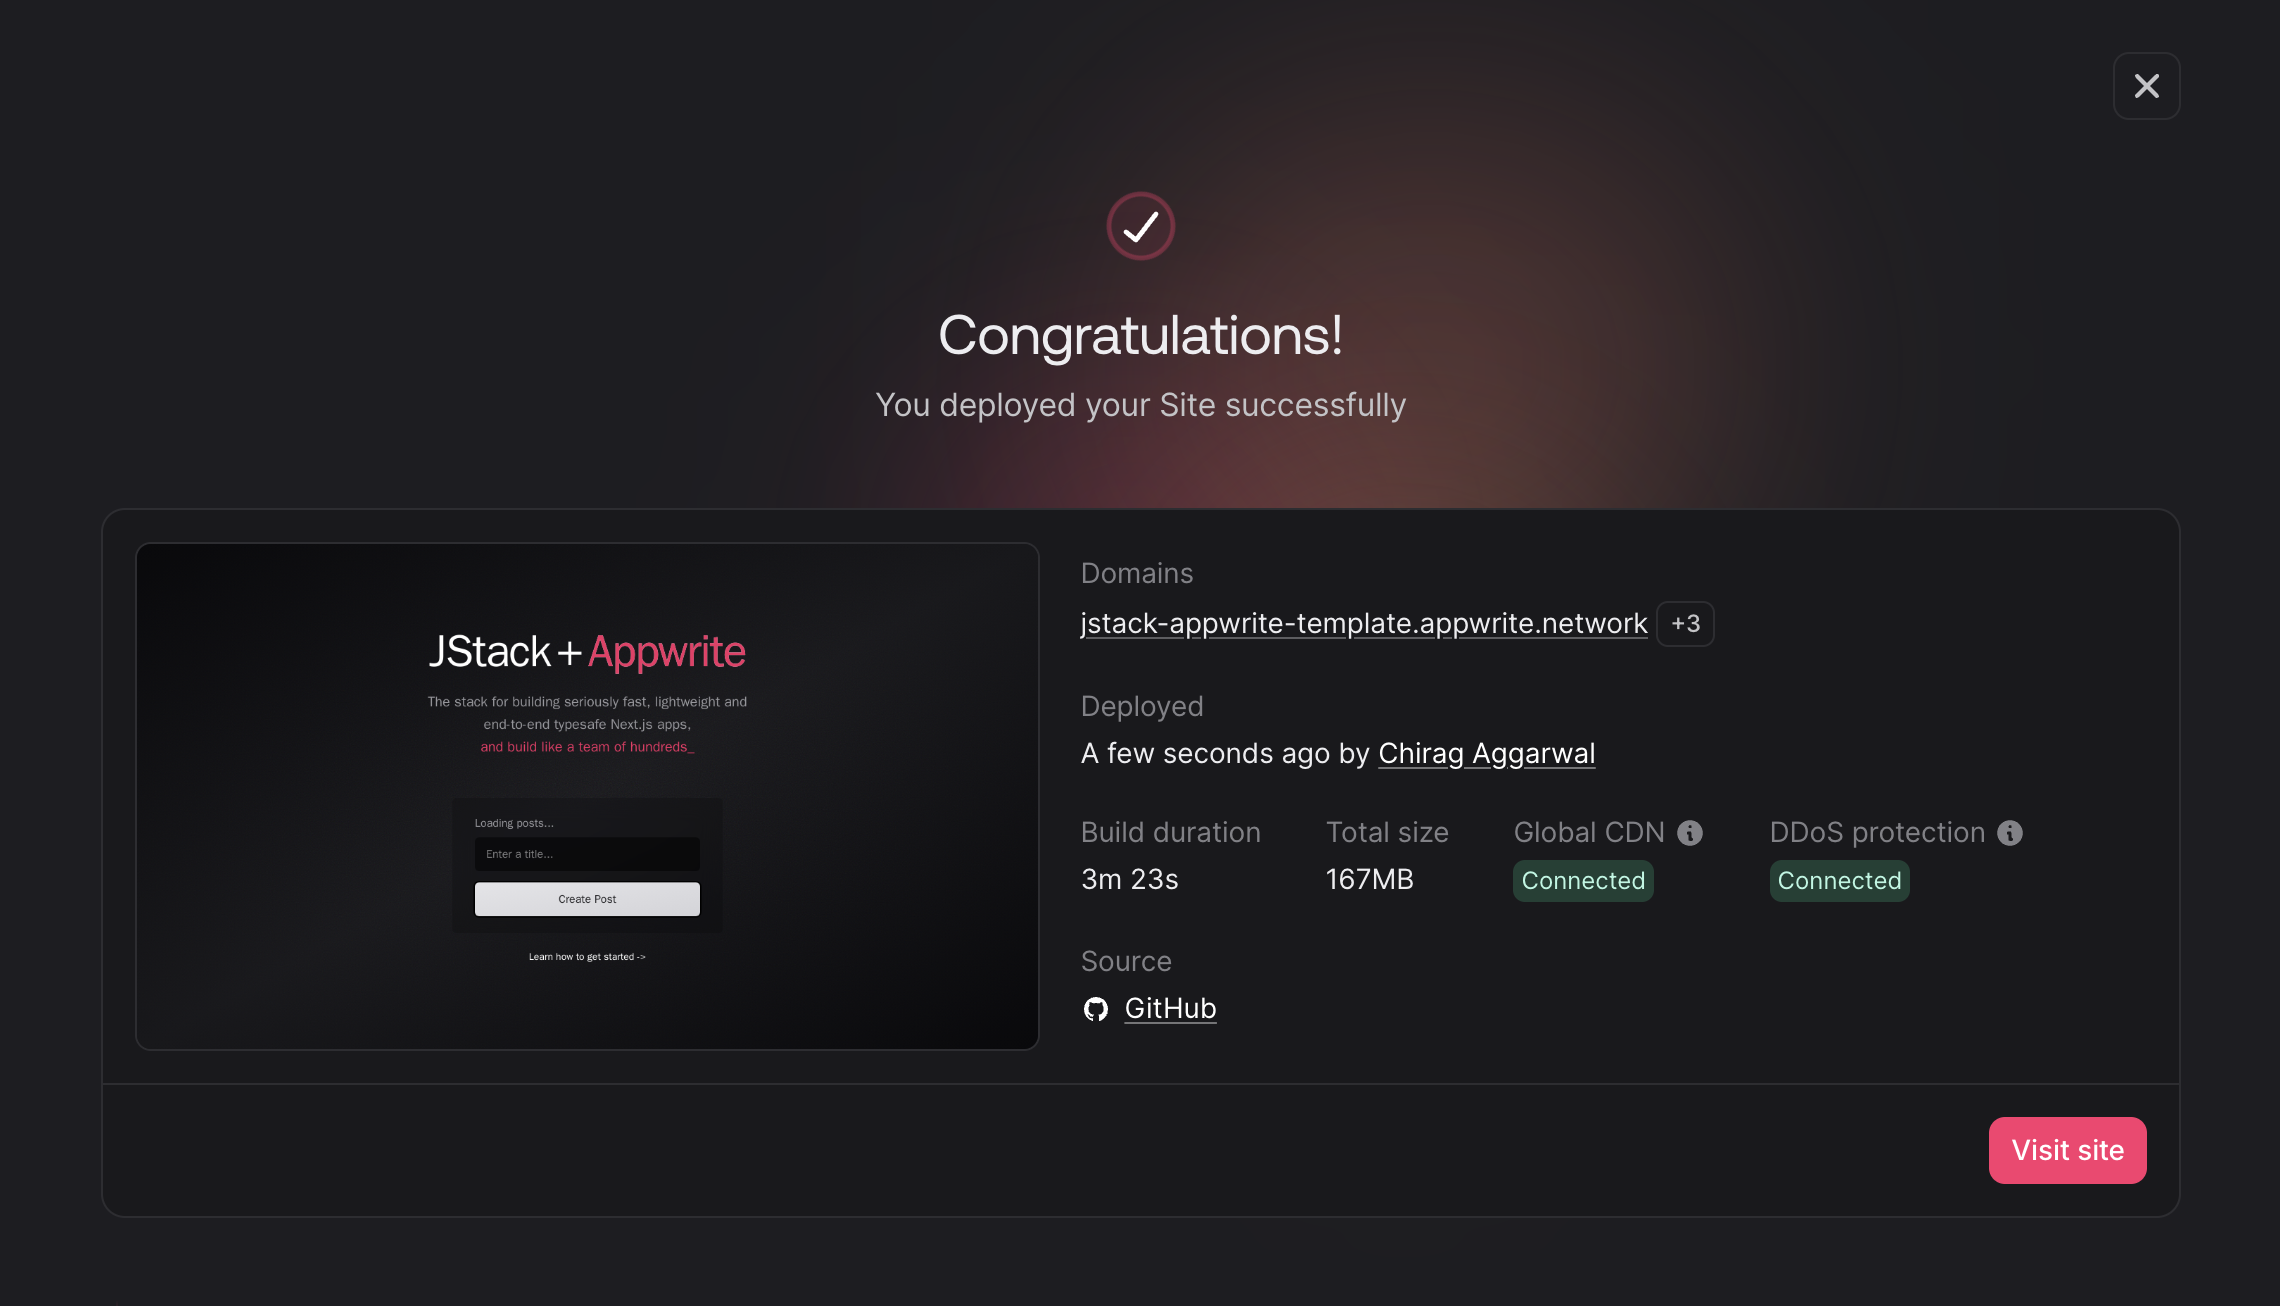
You can checkout the demo application here - https://jstack-appwrite-template.appwrite.network/
Conclusion
Let's start by answering the question the blog began with: Do I prefer JStack over T3 Stack? I'm sorry, Theo, but I do.
JStack solves the fundamental problems I have always had with Next.js:
- Using Hono instead of Next.js's inbuilt convention for defining API routes.
- Using TanStack query out of the box. Trust me, you should start now if you are not using it.
- Type safe and uses Zod.
The most noticeable difference between T3 Stack and JStack is how light they are, mainly due to the inclusion of the TRPC protocol in T3 Stack. Most projects do not require it, and it makes the code 10x more complicated to maintain, in my opinion.
So, give JStack a shot if you are starting with a new project (or want to spend a weekend migrating your existing stack to it). Huge shoutout to Josh for creating this wonderful stack. And lastly, give Appwrite a chance to be your next all in one cloud platform, both for your backend and frontend needs.
Sources:
- JStack - https://jstack.app/
- Appwrite Docs - https://appwrite.io/docs
- Github repository - https://github.com/ChiragAgg5k/jstack-appwrite-template